Have you ever wondered how hard it would be to create 3D videos? You know, the kind you can watch on your Oculus headset? Well, so did I, and that led me down a rabbit hole that consumed a few months of my life. There is a lot to learn to shoot, edit, and share 3D video. Not to mention the alignment of the videos so they appear sharp in 3D. Below we’ll explore some aspects of the project which include: (1) A 3D printed rig to hold two cameras in proper alignment while shooting video. (2) Software to process the videos to align the first frames of each video, and to stitch together two flat images into a VR180 format (or less depending on the field of view of your cameras). And (3) ensuring you pre-process the video so it gets recognized automatically as a 3D video (SBS).
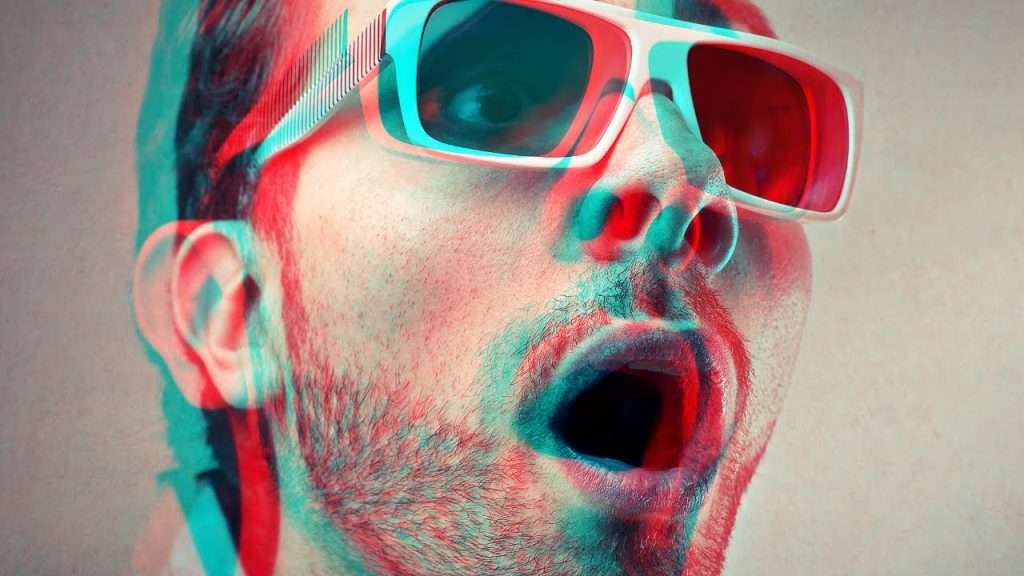
In addition to the VR180 SBS video format, you can also process video as an Anaglyph. That’s the RED/BLUE videos that we’ve all seen and can be watched on a regular monitor/TV. You just need to get the glasses which are readily available on Amazon. Here are some links to videos that I’ve posted on YouTube.
- Soap Box Derby – Anaglyph:
- https://www.youtube.com/watch?v=Ix2SSrfRVqI
- Cars and Coffee 1 of 2:
- https://www.youtube.com/watch?v=Jv9Y8C57Pkc
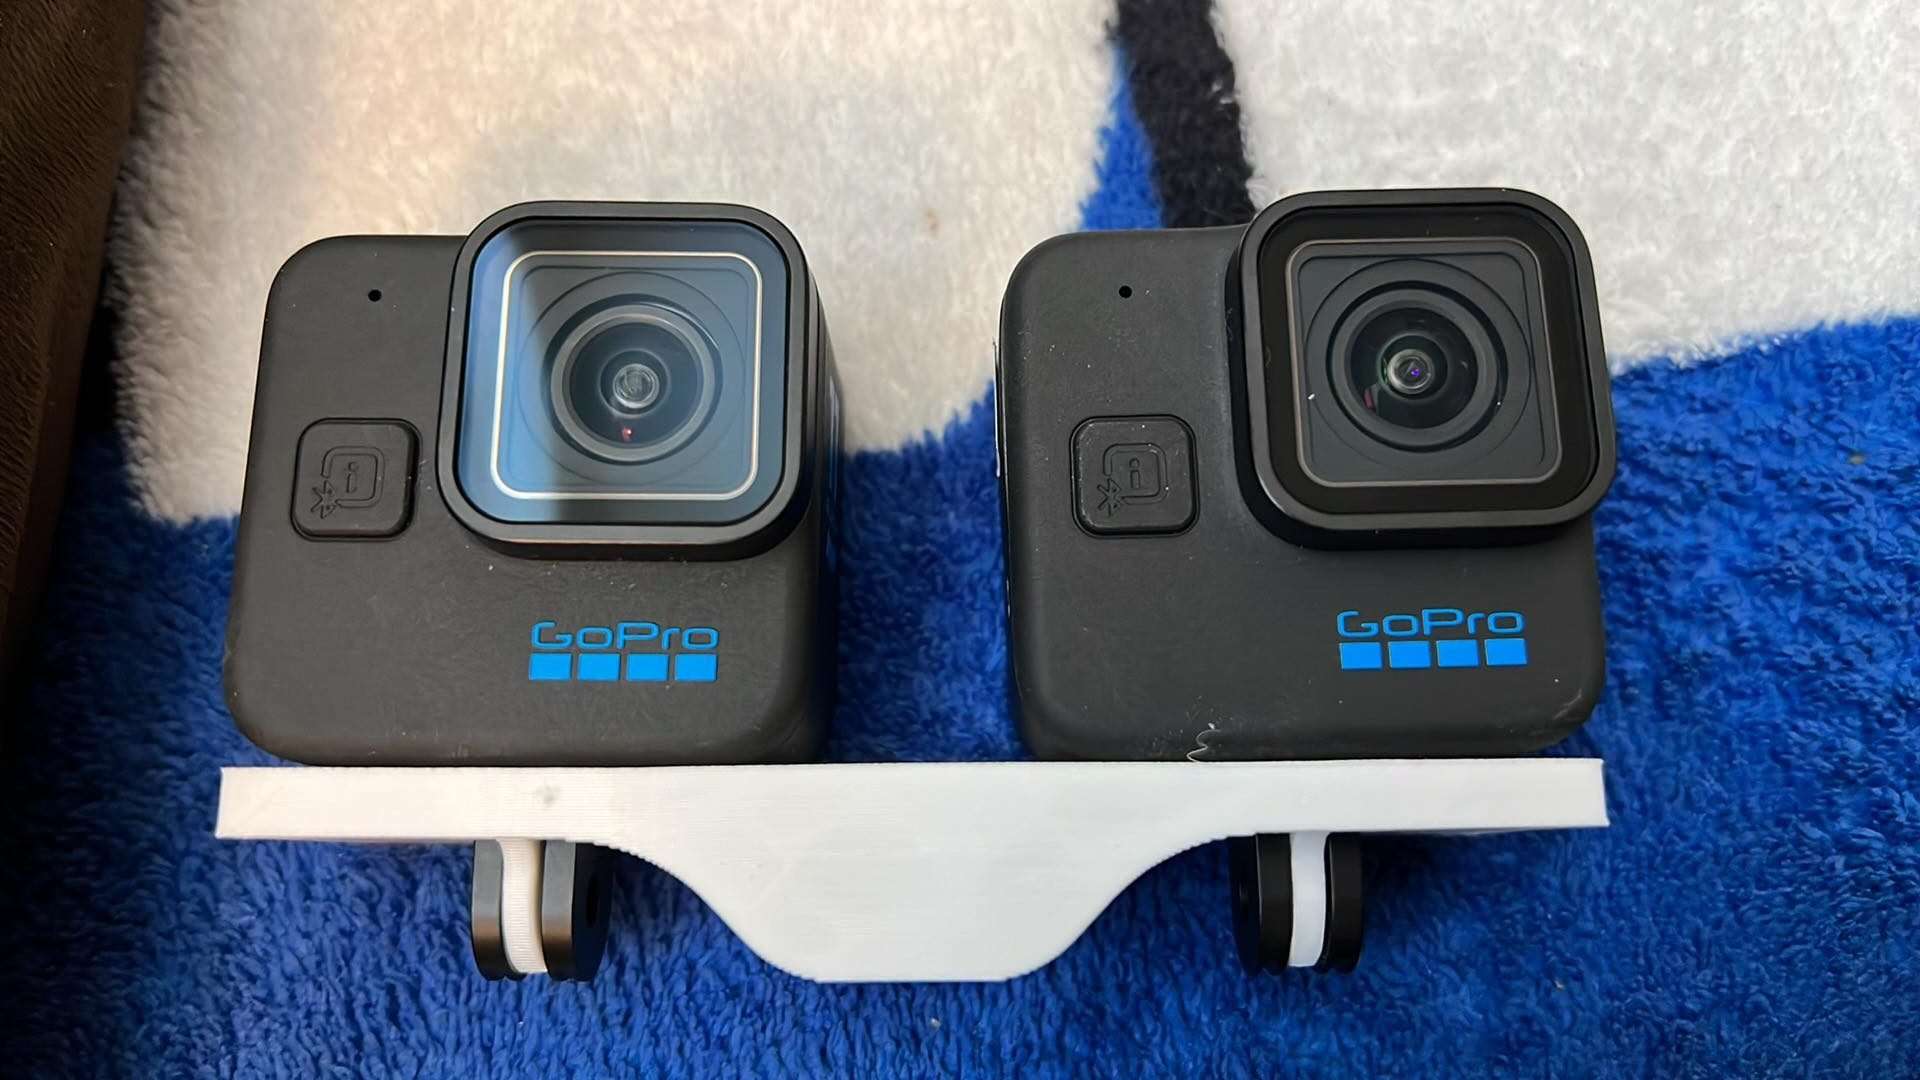
Since we are using two cameras v.s. a single fit-for-purpose 3D camera, we will have to start the video on both cameras and then make a frame of reference so we can ‘align’ the videos during processing. It’s vitally important that this happens, otherwise, one eye will be out of sync with the other and your video won’t be watchable. Then, the video needs to be intentionally distorted so it has a fish-eye appearance. And finally, merge the left and right video into a video frame that is twice as wide as the original. So if you’re shooting in 4k, your final video would be 4k x 8k. To hold the cameras in the right orientation, I created a 3D-printed rig that is reinforced with a steel rod to add rigidity. Your cameras mustn’t move at all – they must be solidly connected to the rig which I often mount to my gimbal.
Camera Mount:
A rigid camera mount for both cameras is a requirement. The purpose of the mount is to ensure the cameras are properly aligned on the same plane and hold the cameras steady in the X, Y, and Z axis. Their design is simple but effective. I’ve made them for the Insta 360 One X2, Insta Go2, and the GoPro 9 mini/standard. They are all very similar and also include a 1/4″ threaded insert so you can mount on a gimbal or tripod.
Camera Settings:
There are some rules of thumb that I use but not all cameras support the same settings so you may have to adjust accordingly.
Resolution: 4K or above, but this will affect your file size so be cautious. Also, shoot for your target viewing device. There’s no use shooting 8K videos when your target device only displays 2K.
Stabilization: Disabled.
Frame Rate: 60FPS or higher. The lower the frame rate, the higher the degree of error you will have in frame alignment.
Starting/Stopping video:
This may sound trivial until you understand how you must align the finished video to be frame-accurate. In other words, both the left and right eye must be in sync, at the frame level. If you’re off by even one frame, it will be hard to focus on the video. Once you’re ready to start taking a video, you should do the same procedure every single time to get consistent results.
1. Press start on the left camera.
2. Press start on the right camera.
3. Extend your hand in front of the cameras so it’s in the frame and snap your fingers.
4. Once you’re done recording, press stop in both cameras. The order isn’t important.
Processing the video:
The first thing to pay attention to is to ensure you clearly label your LEFT and RIGHT videos in a way that allows you to identify each video clip. I use a format such as “LEFT-001.MP4” and “RIGHT-001.MP4”, so this indicates the first video I shot today and its two parts. Failure to do this will cause you lots of frustration. Learn how to use your camera’s automated numbering system and get the Left and Right cameras in sync so the numbering is the same.
Next, we have to trim each video so they start at the same frame. This is where the finger snap comes into place. Using an editing application, such as the one that I created, you need to find the same frame on each video and trim off the beginning. In my experience, most of the apps I tried to use to edit the video did not support frame-level editing; that’s what led me to write an app to make it easier.
Once you have both videos trimmed, the next step is to process them to apply a fish-eye-like distortion. There is a ton of math that goes into this, and I don’t fully understand it all but the video will be much better when you apply a curved projection to the video to make it look more natural. If you skip this step, it will still work but instead of being VR180 and immersive, it’ll look more flat.
Lastly, you need to stitch the two videos (Left & Right) into a single video frame. So if your raw video is 1000×1000 pixels, your final video would be 1000 x 2000. That assumes you’re using the common SBS (Side-by-side) format for your final video.
Software:
There are a few options and I suspect there will be others as time goes on. I also expect that more 3D camera platforms will be created and remove the need to use two separate cameras. But until then, you’ll need to consider how to process your video and what application works for your use case.
Mistika Boutique – (FREE) It does require a bit of learning and the UI is different than most applications I’ve used, but it does get the job done. If you want to try this approach, look for videos on YouTube first so you understand the process and settings.
Adobe Premier – ($$) I have read where some users do this completely in a video editor like Premier or others. However, I was not able to get the results I wanted and found it too cumbersome. It could be a user error though so if you’re comfortable with an editor, give it a shot.
3D Studio – This is the app that I wrote to help make the process easier. It provides a GUI and uses FFMPEG on the back end to do the processing. There are 3 main processes: (1) Trim your videos, (2) Apply the spherical projection and (3) stitch the two (left/right) videos together. It’s simple enough to use that anyone can learn it in 10 minutes and make very good videos.
Creating 3D videos and photos can be very rewarding. Regardless if it’s your child’s birthday party or a walk through a park, watching your creation come to life in a headset is a lot of fun. The experience is immersive and allows you to share your first-hand experience with others. If you search YouTube or DEOVR, you’ll see thousands of videos that others have created. But be warned, you can spend hours watching content, it is addicting.
Leave a Reply