Everyone has at least a couple of AM/FM radios, but how many of you have an internet radio? Never heard of it? Well, in my opinion, it’s better than your existing radio and almost as good as Sirius/XM. For about $50 you can create your own. And the best part is there are no subscription fees, plus you can customize your station list to exactly what you want to hear. Any type of music, from any part of the world, plus Air Traffic Control, Amateur Radio(HAM) repeaters, Police/Fire, and my favorite – COMEDY streams.
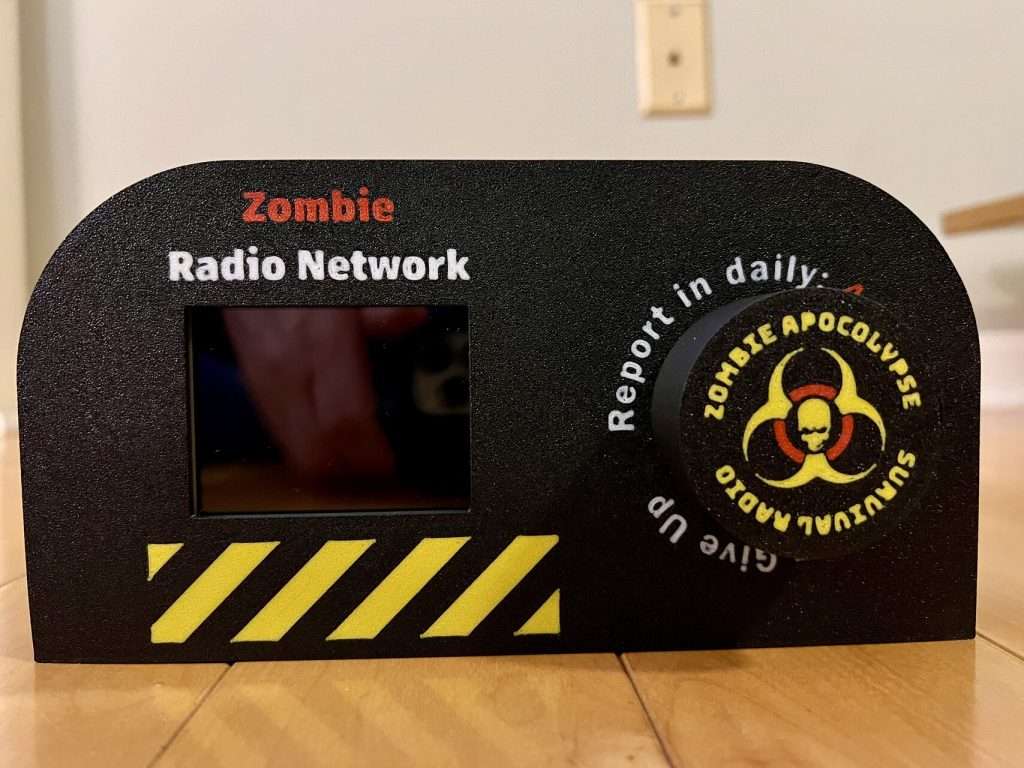
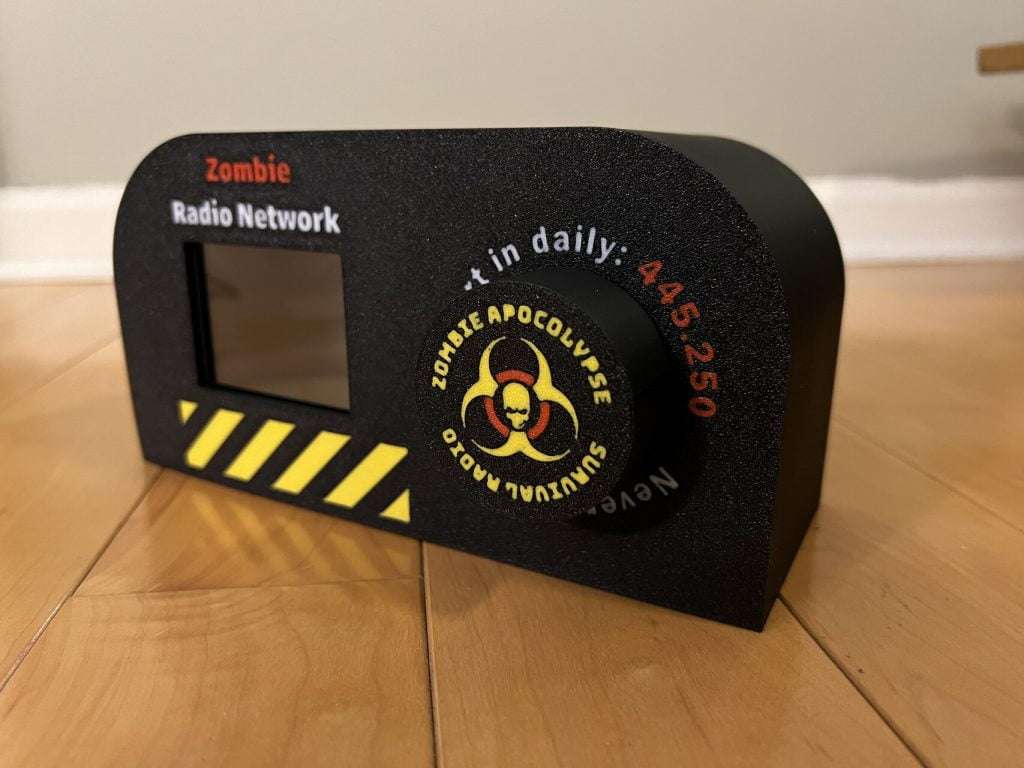
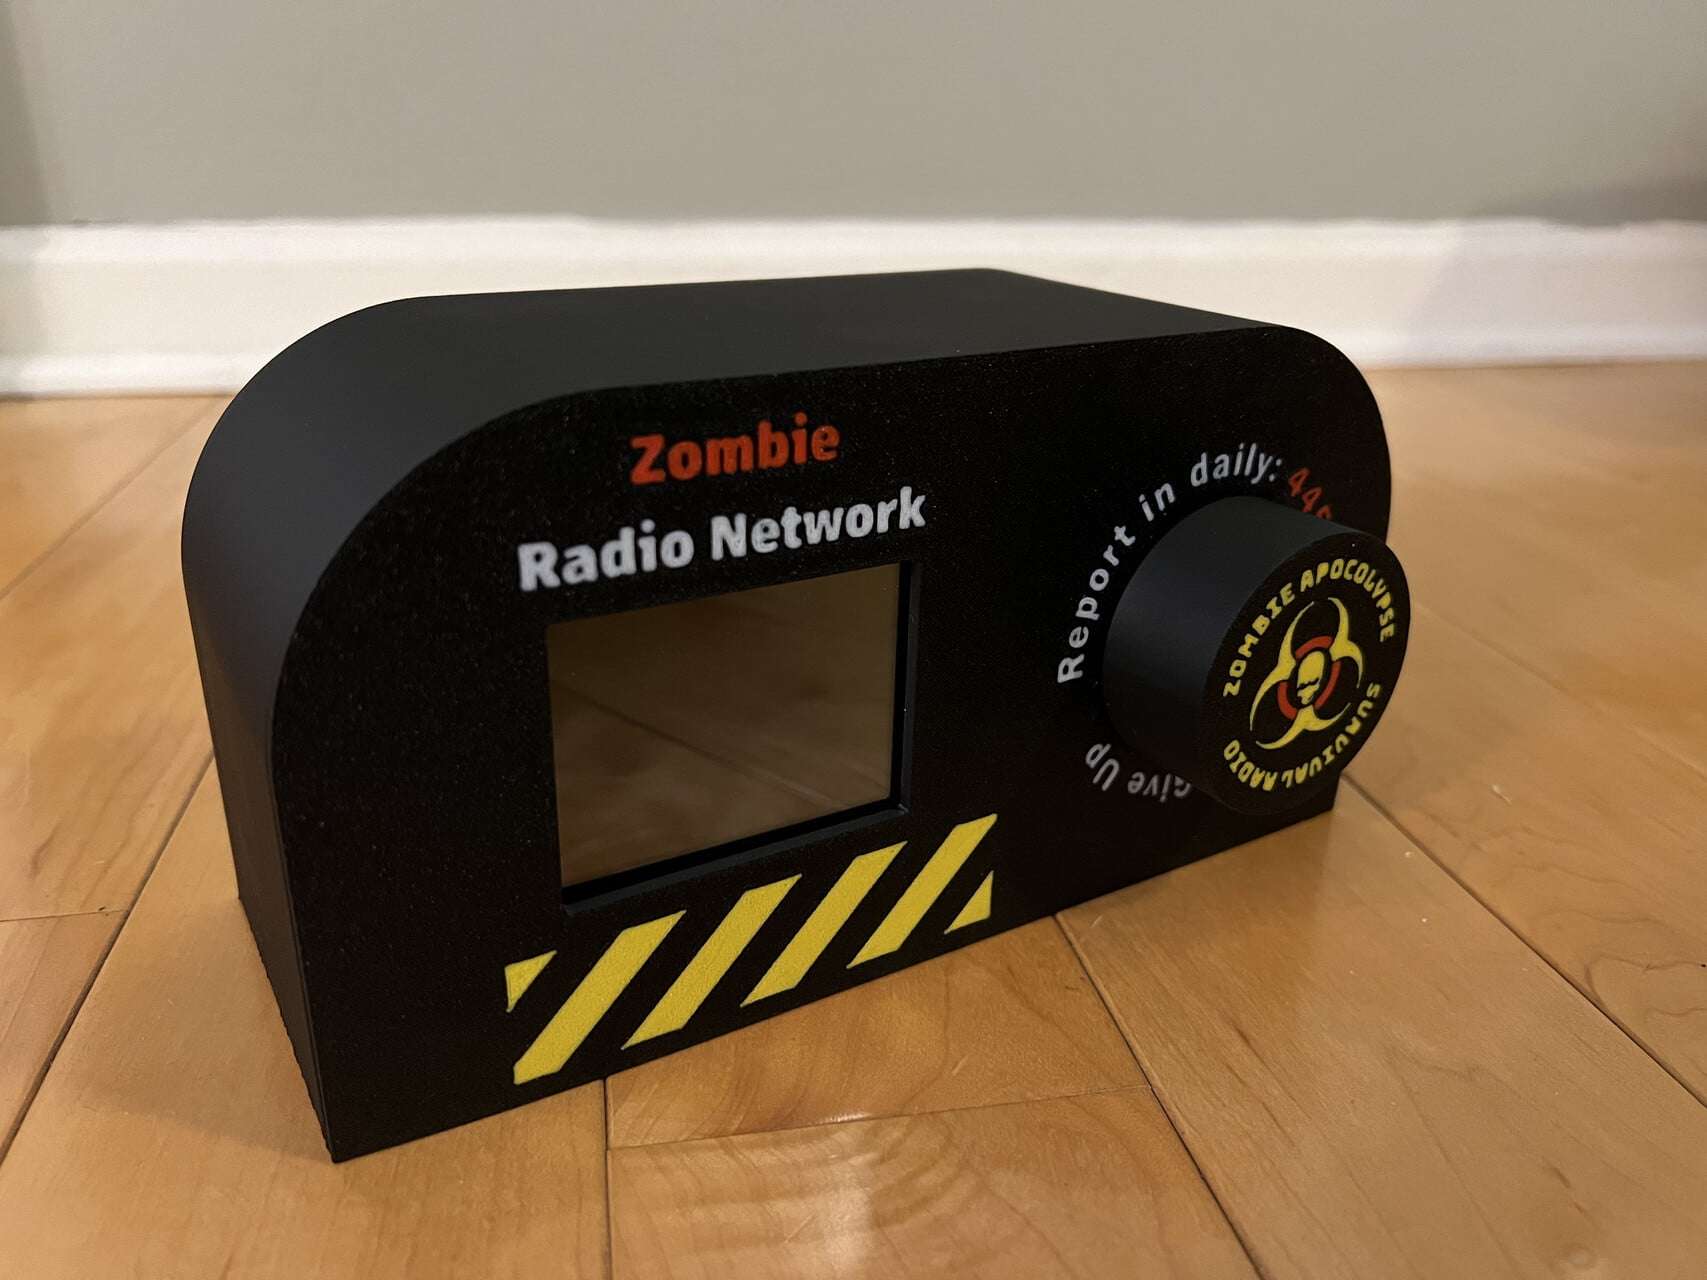
The radio features a 2.8″ screen, 2 independent 3W DACs, a rotary encoder with a push button for input, and a web-based configuration tool for connecting to your Wifi. The setup allows you to enter your Wifi SSID and password, the host where your station list is stored, and the path/file of the station list. I host my station list on this website, which you’re welcome to point your radio to. But you may decide to customize your list and host it yourself. If you want to have me host it for you, please reach out to me.
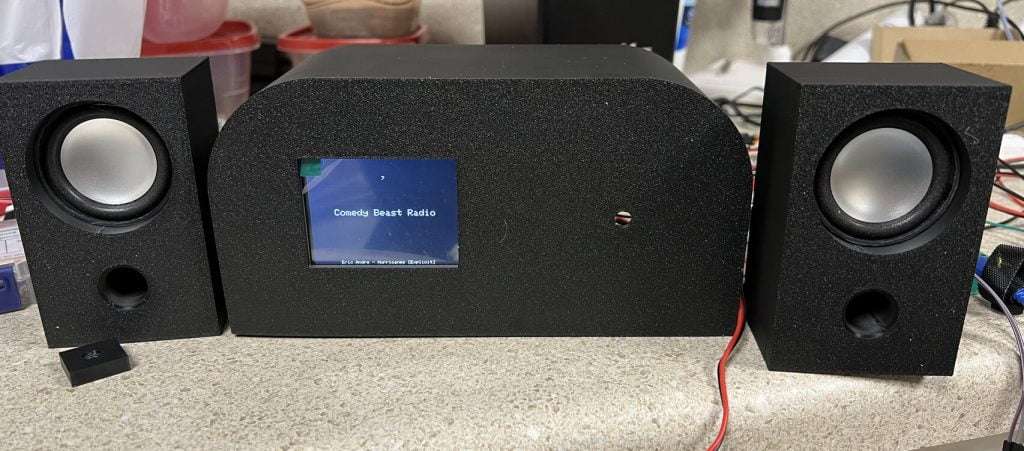
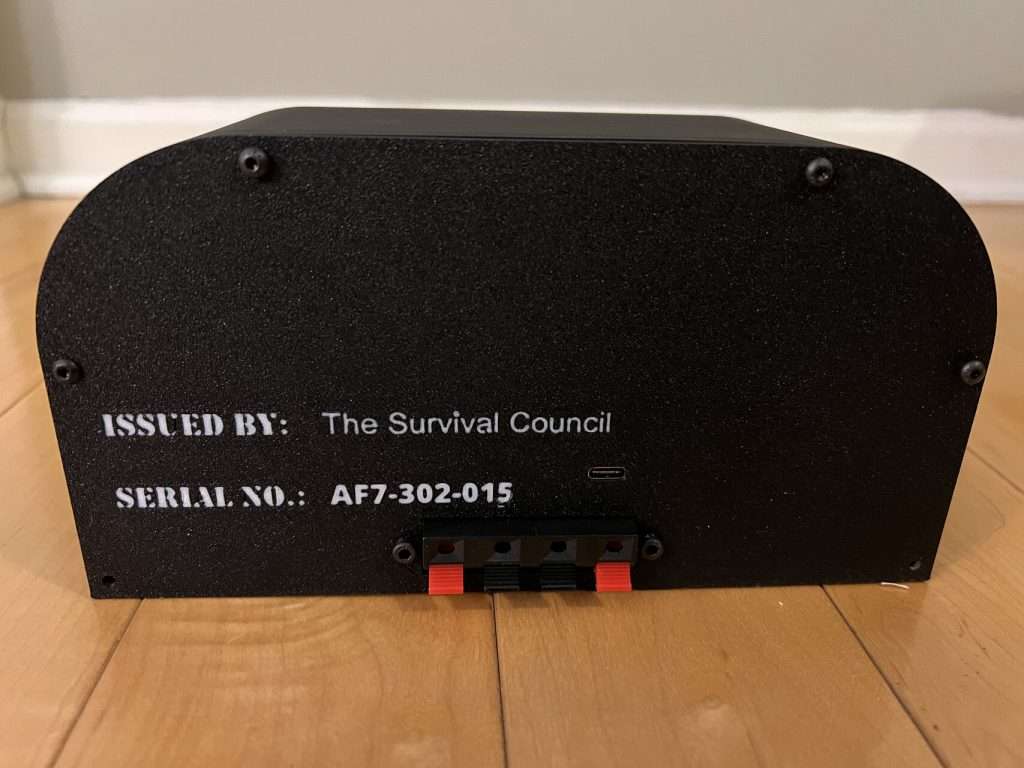
As you’ll see from the Bill of Materials below, the components required are minimal, yet the results were impressive. The plans include the option to build your speakers as shown above, but I found that they don’t have a lot of bottom end. So, I ditched them and purchased a used set of desktop speakers from Goodwill for $6 which sounded much better. The back of the case has spring terminals to connect speakers so you can choose any speakers that you’d like.
Here are the items you will need to purchase to build this project. I purchased these from Amazon, but you could also use Aliexpress or other sites and save some money if you don’t mind waiting.
| DESCRIPTION | PRICE | QUAN |
| HiLetgo ILI9341 2.8″ SPI TFT LCD Display Touch Panel 240X320 | $16.39 | 1 |
| SparkFun (PID 14809 I2S Audio Breakout – MAX98357A | $8.93 | 2 |
| ESP32 ESP-32D ESP-WROOM-32 CP2012 (Price is for 3) | $19.99 | 1 |
| Jack Socket Spring Push Release Connector Speaker (Pack of 4) | $6.99 | 1 |
| Type-C Female Test Board PCB Socket (Pack of 10) | $9.49 | 1 |
| 3mm x 6 screws (To hold the lcd & back case) | Varies | |
| Taiss / 5Pcs KY-040 Rotary Encoder Module with 15×16.5 mm with Knobs Cap | $9.99 | 1 |
| Optional – headers, pre-crimped wires, 3mm x 8 screws to attach the LCD |
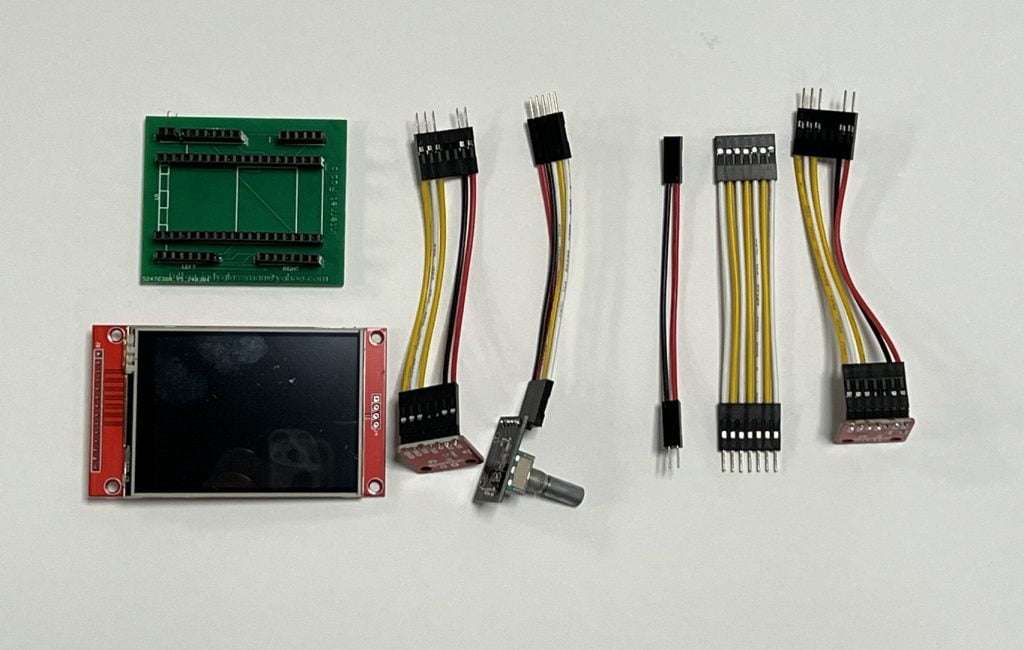
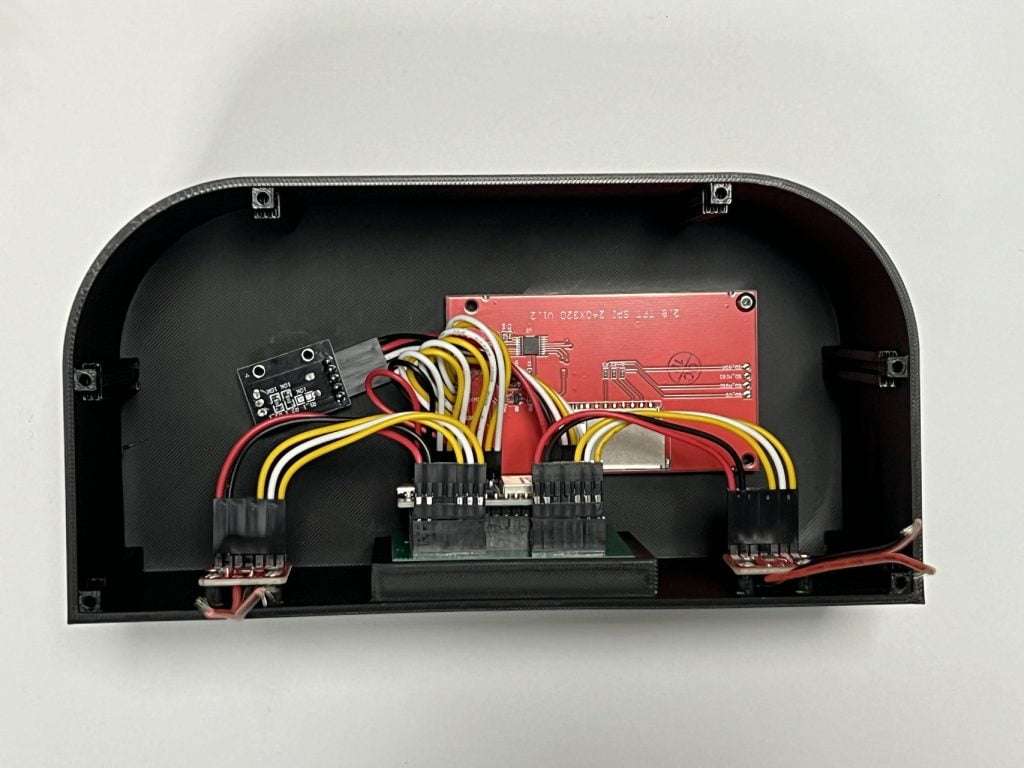
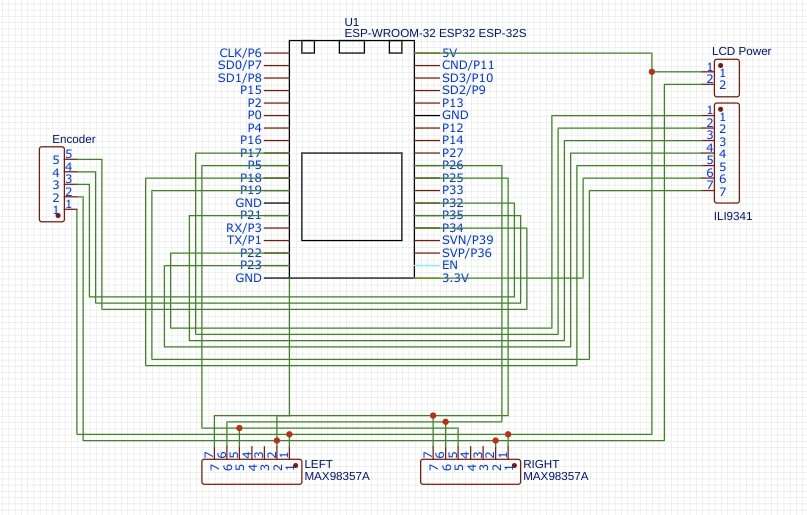
To wire up your radio and components, you can do it in whatever way works for you. I decided to make a PCB using headers and build my own dupont-based wires to connect everything. It adds a few dollars to the cost of the project, but it makes it much easier to assemble and troubleshoot if you experience issues. *Note the photo and schematic to indicate which wires go where – Red & Black are used in my wiring for power and ground; the rest of the wire colors are arbitrary.
Schematic: Here is the schematic for wiring the components together. What is missing from the diagram is how to power the device. What I did was to use the female USB-C connector noted in the BOM and wire it to the LCD power pins in the upper right of the schematic. Pin 1 goes to +5 for the ESP32 and pin 2 goes to ground.
The files you will need to complete the project are listed below.
Sample Station List – This is a sample category/station list that is available for you to use. Or you can host your own.
Programming: The code is included above. Unzip it to a directory and load it up in your Arduino IDE. Confirm that you have all the required libraries installed; if not, you’ll need to install them. Then, compile the code and upload it to the ESP32.
First use / Setup: The first time you boot up it will go into Setup mode. You can also force setup mode by holding the button while powering up. Setup mode puts the Wifi into AP (Access Point) mode so you can use your laptop/phone to connect to the SSID displayed on the screen. Once you connect, you then use your browser and go to 192.168.4.1 to get to the setup form.
Setup requires 4 items to be entered – the SSID of your wifi network, your wifi password, the host where your station list is stored (i.e. “Fultra3d.com”), and the path and filename for the station list (“/iradio/iradio.txt”). Once you save these items on the form, you’ll have the option to reboot the device from your browser. Note: Your settings are stored in memory so this will be a one-time setup process.
Upon booting back up, your radio will connect to the wifi, load the station list, and be ready for you to select what you want to listen to. Simply press the button, choose your category, and confirm by pressing the button again. Then choose the station within that category and press the button to confirm your entry. Your station will start momentarily. (I’ll assume you connected speakers before getting to this point. If not, do so now.)
Final Thoughts: First, I hope you enjoy this project. Many people have reached out for me to document it so I’m looking forward to seeing what you crate. I’m a hobbyist and developed the code and model myself. You’re welcome to take it and modify it however you would like. Although, I’d love to see your updates if you don’t mind sharing!
Leave a Reply